
Dills Tavern: The Garden Shed: Vol 1.3
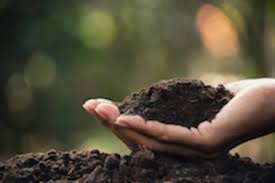
 Modern soil testing methods, which analyze nutrients and pH levels, were not available. Instead, colonists used a largely practical approach; relying on observation, experience, and trial-and-error to determine soil fertility. While they may have observed soil and occasionally collected it to examine texture or color, there was no systematic sampling or laboratory analysis.
Over time however, through trial and error, they developed techniques for growing crops suited to their local climates and soils, such as crop rotation and soil enrichment. They shared their findings and methods within their communities, creating a foundation of practical farming wisdom that would be refined and expanded upon by later growers.
With Our Modern Advantages... the most important job of a gardener is to build healthy soil, not grow plants. The soil grows the plants. A plant can only grow as well above ground as its roots can grow below ground. Every couple of years you need to do a soil test on your garden area to learn what is in the soil, how it has changed, and what should be amended for optimum plant growth.
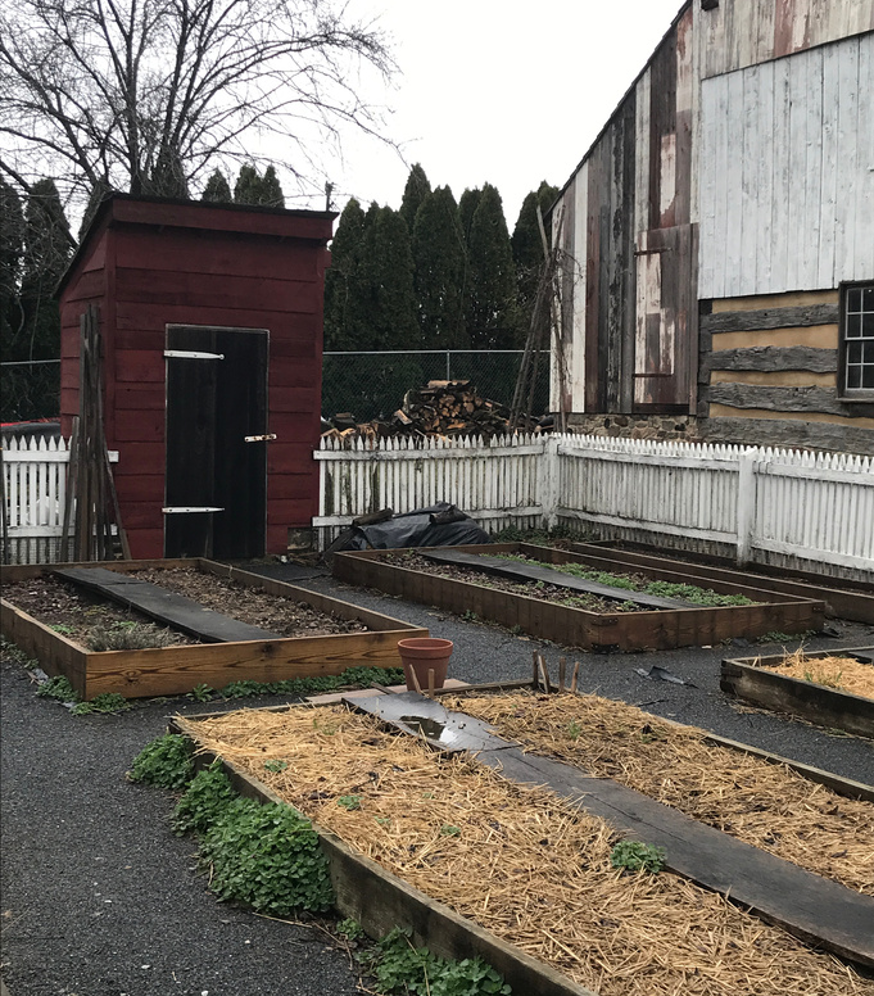
 It's best to do soil tests in autumn, so we can add dry nutrients or amendments that leach into the soil over winter. Then they are at root level where plants need them in the coming growing season. Even in small yards soil structure and nutrient levels can vary widely from one area to another. Therefore, it's important to test each area you have planted or intend to plant.
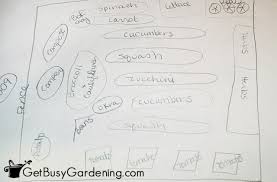
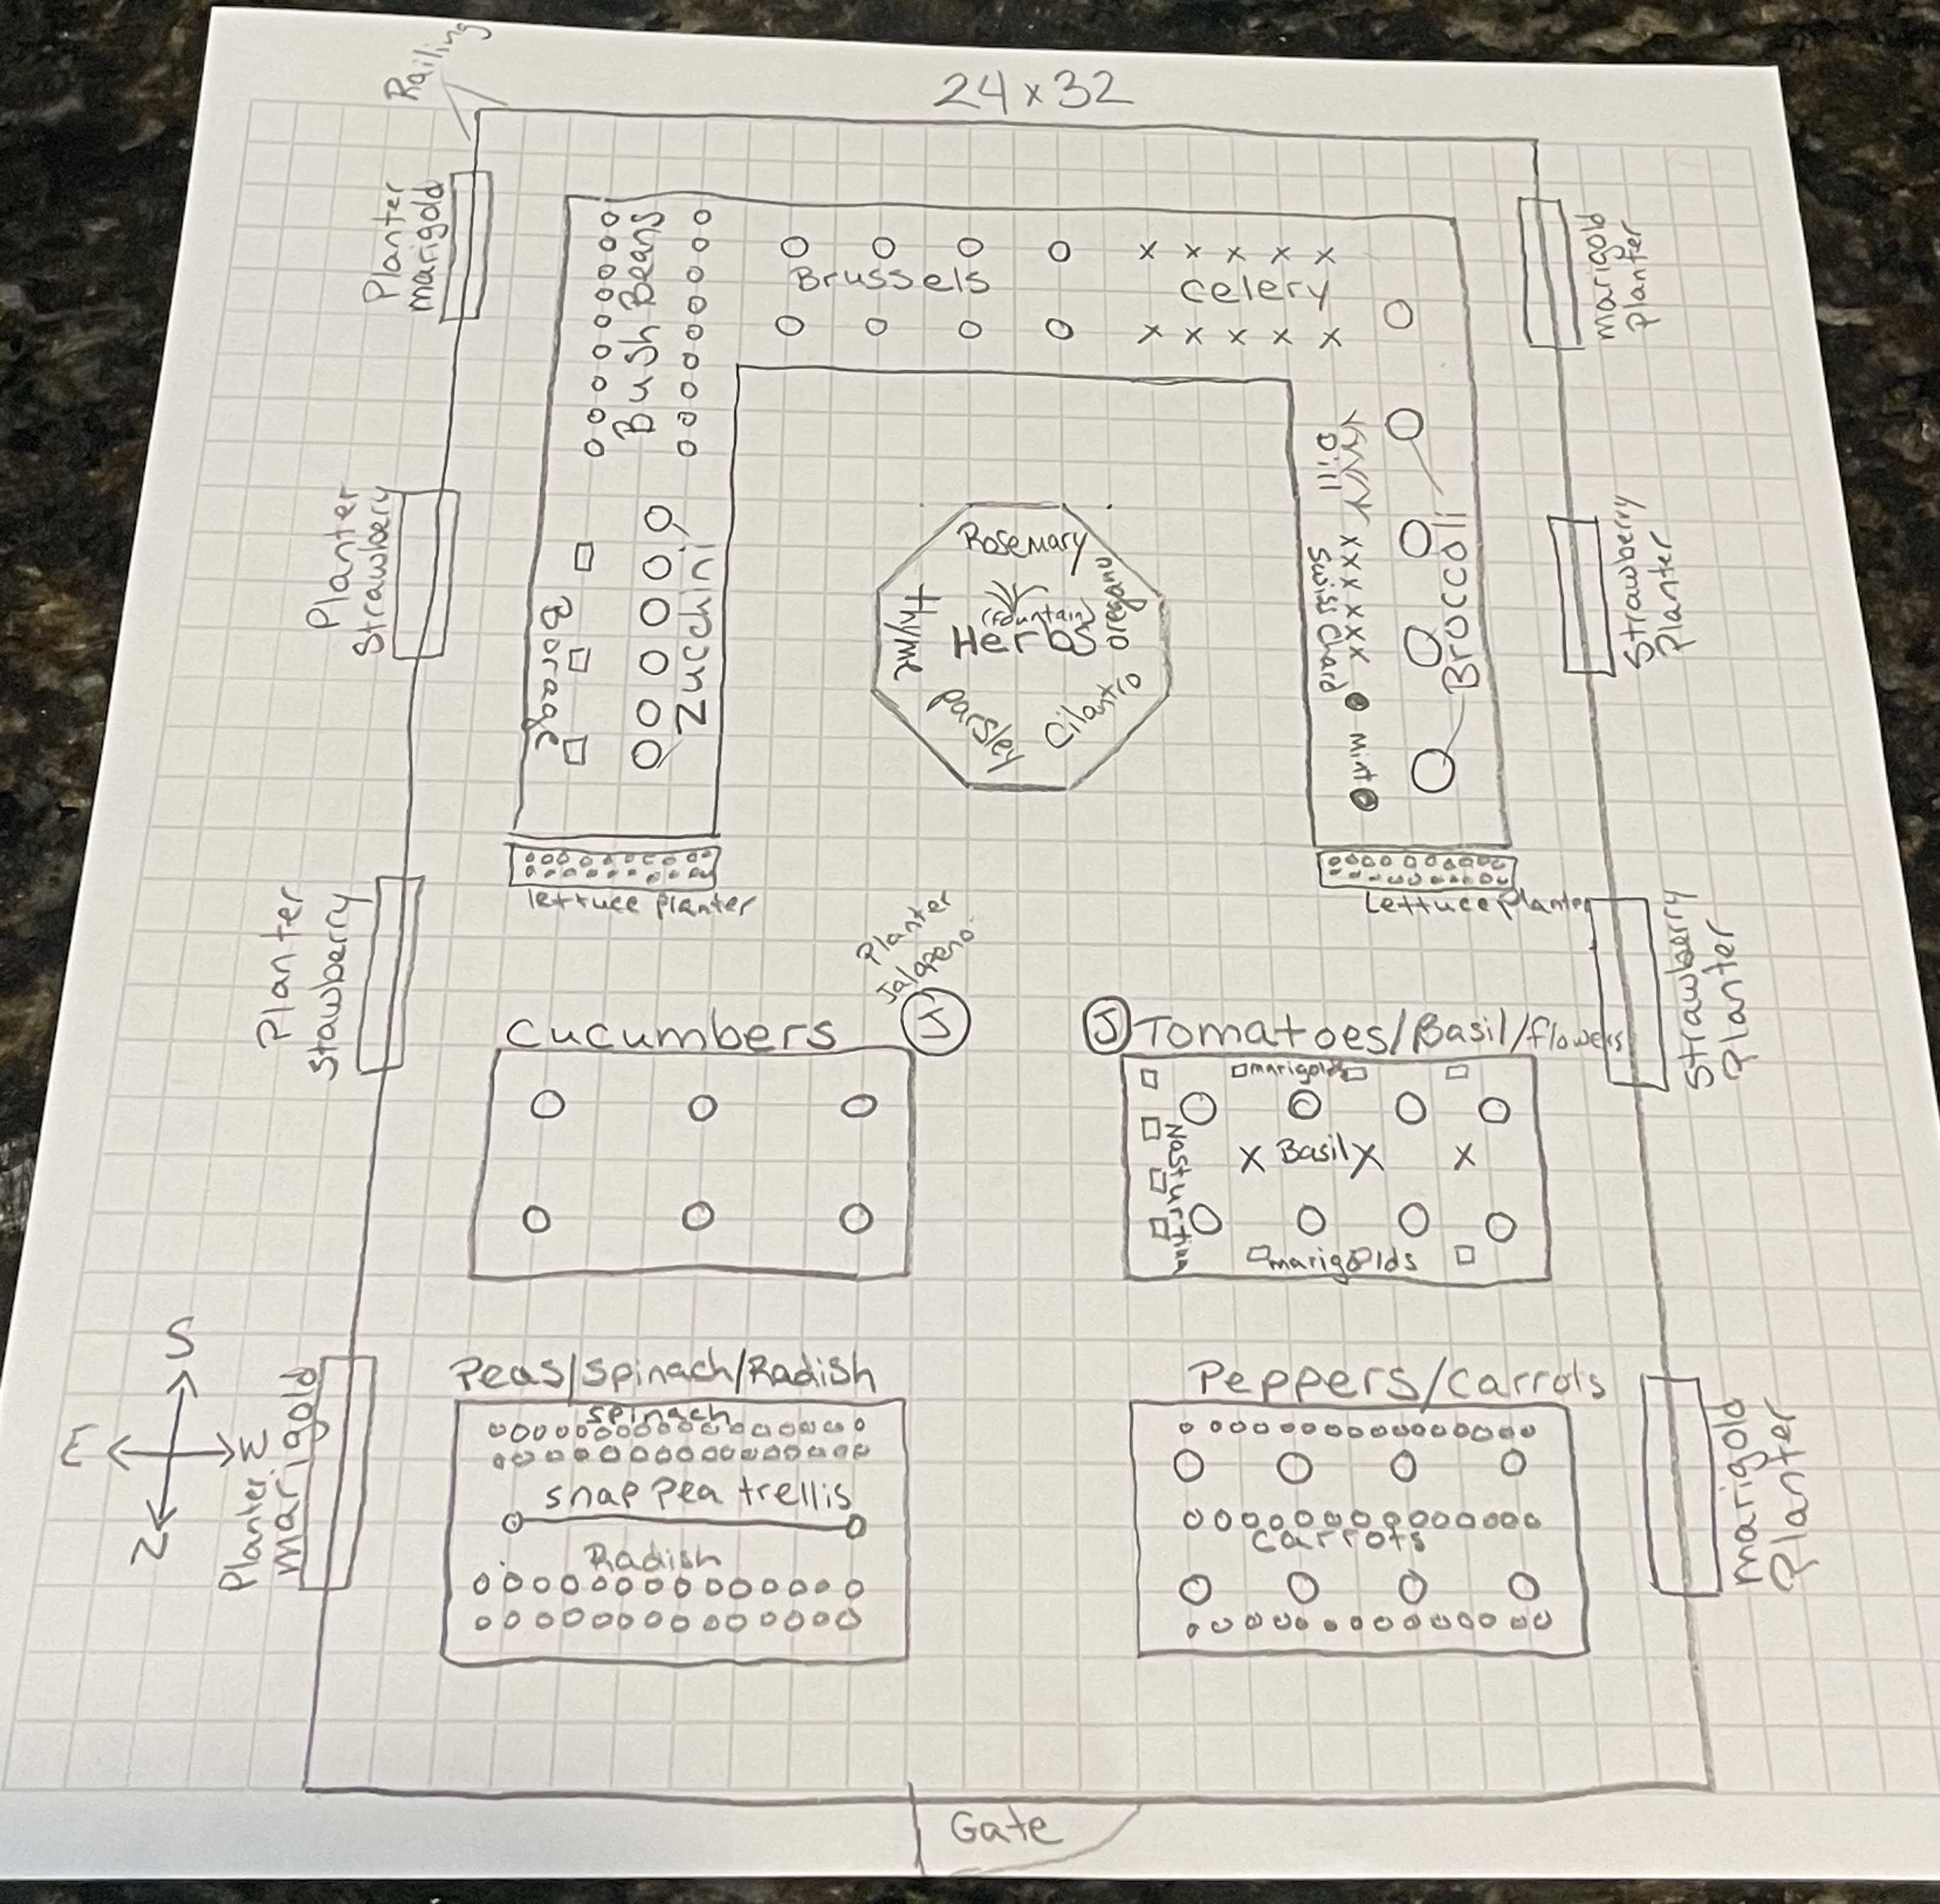
On a sheet of paper loosely draw a plan of your garden. Mark the different areas for which soil samples are to be taken. Give them each a separate identification name or number. Protect this and keep it handy for future reference.
 In several spots around each planting area dig down 6" to 8" and collect at least 1/4 cup of soil from the bottom of each hole. You need about one cup of total soil from each area. Any plastic tub can serve as a collection vessel, such as large butter tubs or the bottom half of plastic milk and beverage jugs. Just make sure they were clean before putting your soil samples in them. Otherwise they might have residue that could affect soil test results.
Do not mix the soil samples from different areas. Label each tub with the ID you gave that specific area. Take your samples inside. Discard any lids, because you won't need them. If it is muddy and slick, like it may be from winter snow or rain, let it sit somewhere out of your way until it has dried out to just being moist.
After a couple days or more, break (or beat) it a few minutes into fairly fine particles. Again, set each sample aside in their plastic tubs out of your way in a warm and dry place where they can completely dry out.
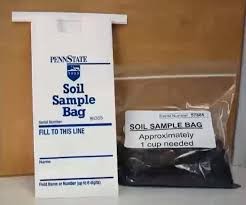
When samples are completely dry, sift the soil through a fine sieve to remove any debris. All you want is the soil. Anything else will affect the soil test results. You can make a simple sieve with 1"x2" lumber and a piece of old window screen. Or just use your kitchen strainer. Don't worry; the dirt will wash out of it. Once sifted collect at least 1/2 cup of each sample into a resealable plastic bag. Label your bags with the area ID you assigned it.
Now you need to box up your sample(s), and send them to the Penn State analysis lab. You can either buy a soil test envelope from the county Ag Extension Office, or print this .pdf soil test form from Penn State's Analytical Lab (https://agsci.psu.edu/aasl/soil-testing/fertility/soil-fertility-submission-forms/individual-submission-form-for-turf-home-garden-noncommercial-fruit-flower-woodlot-christmas-trees-and-landscape-plants). Simply copy and paste that address into your internet browser's location bar. You may want to download a copy and save it on your computer for future tests. Most people only need to print one copy, since you can send ten (10) samples with each form. You only submit the first page with your samples, but you also need the second page for reference codes you will enter on the first page.
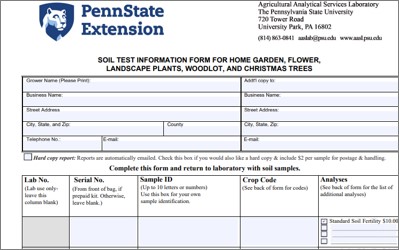 At the top of the form print all relevant information requested. Usually this is just the upper-left block on the form. In the spaces below list each sample on a separate line. Under "Sample ID" print the identification you gave each of your samples.
Penn State tests for the needs of specific plant types. Therefore, under "Crop Code" enter the code from the second page for the type of plants you intend to grow in that area. Again, for most people that's a code from the upper-left group on the second page.
 On a shipping box, or heavy envelope if only one sample, print your return address and the "send to" address from the top right of the soil test form. Place your sample(s) into the box or envelope, along with the soil test form, and a check for the total remittance ($10 for each soil test). You can add, and pay for, other tests listed if you want, but generally the basic test is enough. Now go to the Post Office and share your wealth with them to ship the sample(s) to Penn State. Within several weeks you will receive the results of what nutrients and/or amendments to add to each specific area of your garden.
Use the Drying Time: While you are waiting for the soil samples to dry out a bit, finalize your garden plan by drawing it fairly close to scale, and noting where each plant type will be grown. Two important notes here. First, onions and garlic stunt the productivity of legumes, so don't plant them near your beans or peas. They are great companions for almost all other plants, though, because they chase away most bad insects. Secondly, do not plant fennel in your vegetable or herb gardens, as fennel inhibits the growth and productivity of almost all other vegetables or herbs.
Last month you planned your summer garden. This month take some time to plan for your fall garden. The reason we do this so early is because many garden centers either run out of the seeds and plants you want for fall or they start taking their inventory down to make room for more landscaping and decorative products.
 Start Cleaning the Yard and Garden: If you didn't do it last autumn, prune perrenial plants now before they revive from dormancy. Don't remove dead leaves under these plants, though, as they will continue to decompose and add nutrients to the soil, as well as serve as mulch.
Soft stem plants, like mints and lemon balm, can be snipped to 1" above ground. Harder stemmed plants, such as thyme and winter savory, can be given a slight haircut, with obviously dead stems removed to about 1/2" above their bases. Ornamental grasses should be cut back to 4" to 8" high by the end of this month, depending on the variety: short grasses to 4" and tall grasses to 8".
One thing we don't remove until the end of April are the flower spikes from plants like hostas, lovage and sweet cicely. Many helpful insects use these as their winter homes. They won't be hatching out until the end of April. We want their assistance in our gardens, so we don't destroy their happy homes - yet.
Trees and shrubs should definitely have been pruned in autumn. If you didn't do so this is your last chance to prune them before the new season's life starts rising in them. Maple, elderberry, pyrocantha, lilacs, boxwoods, roses, and similar hard stem plants need pruning. Dead branches of any tree or shrub should be removed.
Yes, You Can Start Planting: The seeds of cold weather plants can be planted now. Peas can go in the ground from mid-March to very early April. Some gardeners regularly plant beets, carrots, parsnips, lettuce, arugula and radish the last week of March, though I usually hold off on these until the first week in April. That gives you something to do in March, and help overcome "cabin fever". Good news! There's even more waiting for you in April. Ain't gardnin' fun?
~ by Gary Reneker, Garden Master
Volunteers Welcome!
NYCHAPS (especially Gary!) is always looking for volunteers to assist with garden maintenance. Everything from planting, mulching, weeding, and learning/sharing your knowledge with others! Contact Gary Reneker at This email address is being protected from spambots. You need JavaScript enabled to view it.
